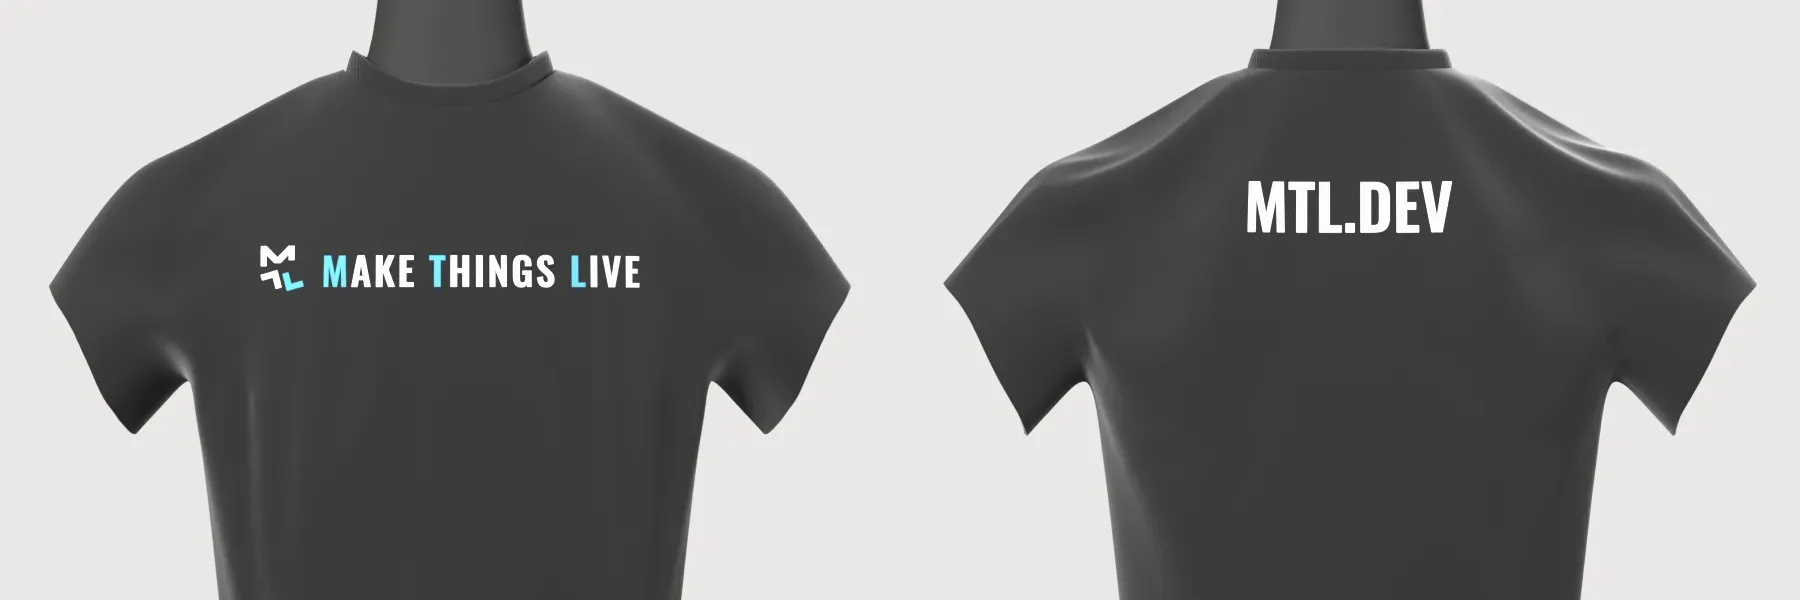
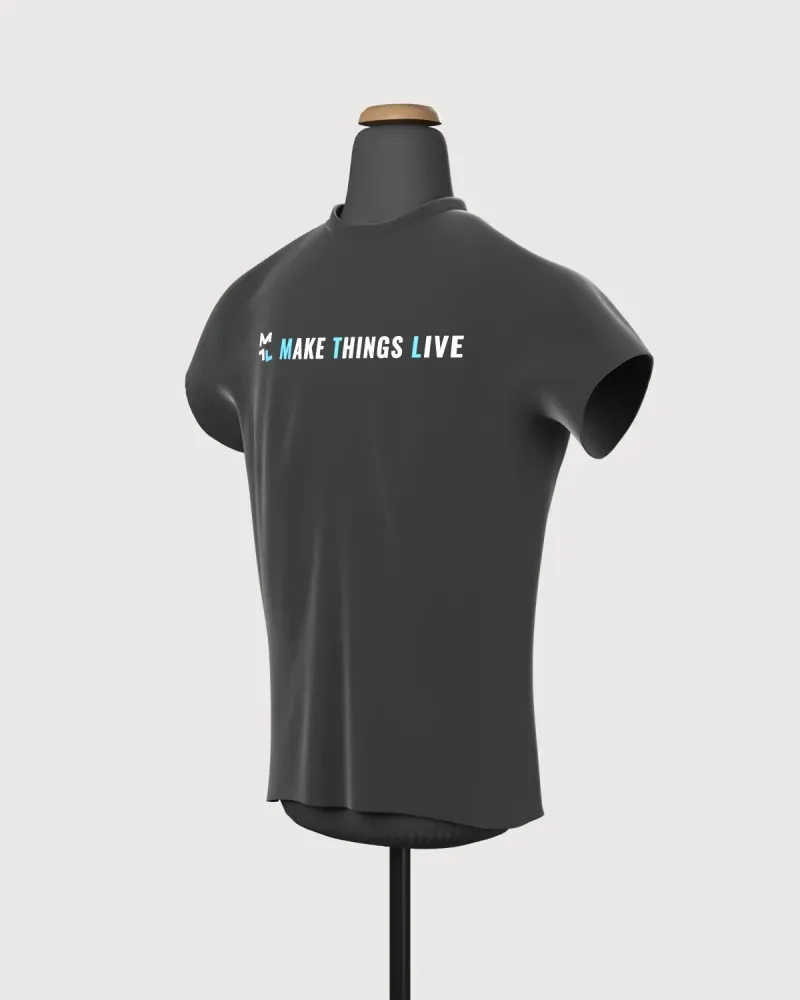
A merch store client sells shirts with flat mockups: one picture of the front, one of the back. They asked if a shopper could turn the shirt round instead. I built a proof of concept in one afternoon: the store's own shirts on a 3D dress form, rendered headless in Blender 5.0 and shown on a web page where you drag to turn them.
The first commit landed at 12:43, the page was live on staging at 15:32. The shirt in this note wears the mtl.dev logo. The client's artwork stays with the client.
The pipeline
flowchart LR
    A["Shopify storefront"] --> B["fetch_products.py<br/>front and back mockups"]
    B --> C["extract_prints.py<br/>print cut out, size in cm"]
    C --> D["build.py in Blender<br/>form, tee, cloth sim"]
    D --> E["Stills and turntable"]
    D --> F["GLB per shirt"]
    F --> G["model-viewer page"]
Everything runs from the command line. No one opens Blender by hand.
- A script downloads the shirts and their mockups from the storefront.
- A second script cuts the print out of each mockup and measures it in centimetres.
build.pybuilds the dress form, drapes the tee and projects the prints onto it.- The same script renders stills, a looping turntable video, or one GLB per shirt for the web.
Measuring a print from a flat picture
A mockup has no ruler in it. So the script uses the shirt itself as the scale: a size M tee is about 72 cm from the collar to the hem. Measure the shirt in pixels, and every pixel gets a size in centimetres.
To find the print, the script takes the most common colour on the shirt as the fabric. Anything clearly different is ink. It skips the top part of the front, because the brand tag inside the collar is also "different", and it is not a print.
The 72 cm is an assumption, and the 3D shirt has to agree with it. In build.py the top and the hem of the tee sit exactly 72 cm apart, or every print lands at the wrong size.
The sleeve that looked like a cape
My first shirt was procedural: a lofted body that followed the form, two tubes for sleeves and a rib collar. It rendered fine from the front. From the side, the sleeves read as a cape.
The second try was a one-piece blank dropped onto the form with a cloth simulation. Better, but still not a shirt. In the end I took a CC0 tee from the MakeHuman asset set, scaled it to the form, moved its neck opening onto a crew neck and draped it with the neck and cuffs pinned. That was the version that looked like a real shirt.
| Try | Shirt | Result |
|---|---|---|
| 1 | Procedural loft and tubes | Front fine, sleeves read as a cape |
| 2 | One-piece blank, cloth sim | Closer, still not a shirt |
| 3 | CC0 MakeHuman tee, draped | Reads as a real tee |
Small things that cost time
A shirt with no back print rendered bright pink in Cycles: the missing-image colour. Each side now has its own on/off switch.
The prints are projected in the shader, and glTF cannot carry that. For the web, the colour and prints are baked into a plain texture.
Each GLB holds the form, the stand and one shirt, compressed with Draco. Five shirts are 2.4 MB in total.
The fetch script only downloads https images from Shopify hosts, and refuses anything too large.
On the web
The page is static: a list of shirts and Google's <model-viewer> web component. Pick a shirt, drag to turn it, press play to let it spin. It sits on AWS Amplify behind basic auth, so only the client sees it.
Keep one script for every output. The stills, the turntable and the web models all come from the same build.py with a different flag, so a fix to the shirt shows up everywhere at once.
What it took
About three hours, and most of it went into the shirt, not the pipeline. Fetching, measuring and exporting were straightforward. Getting cloth to look like a tee took three tries. Next time I would start from a real garment model and skip the procedural version.
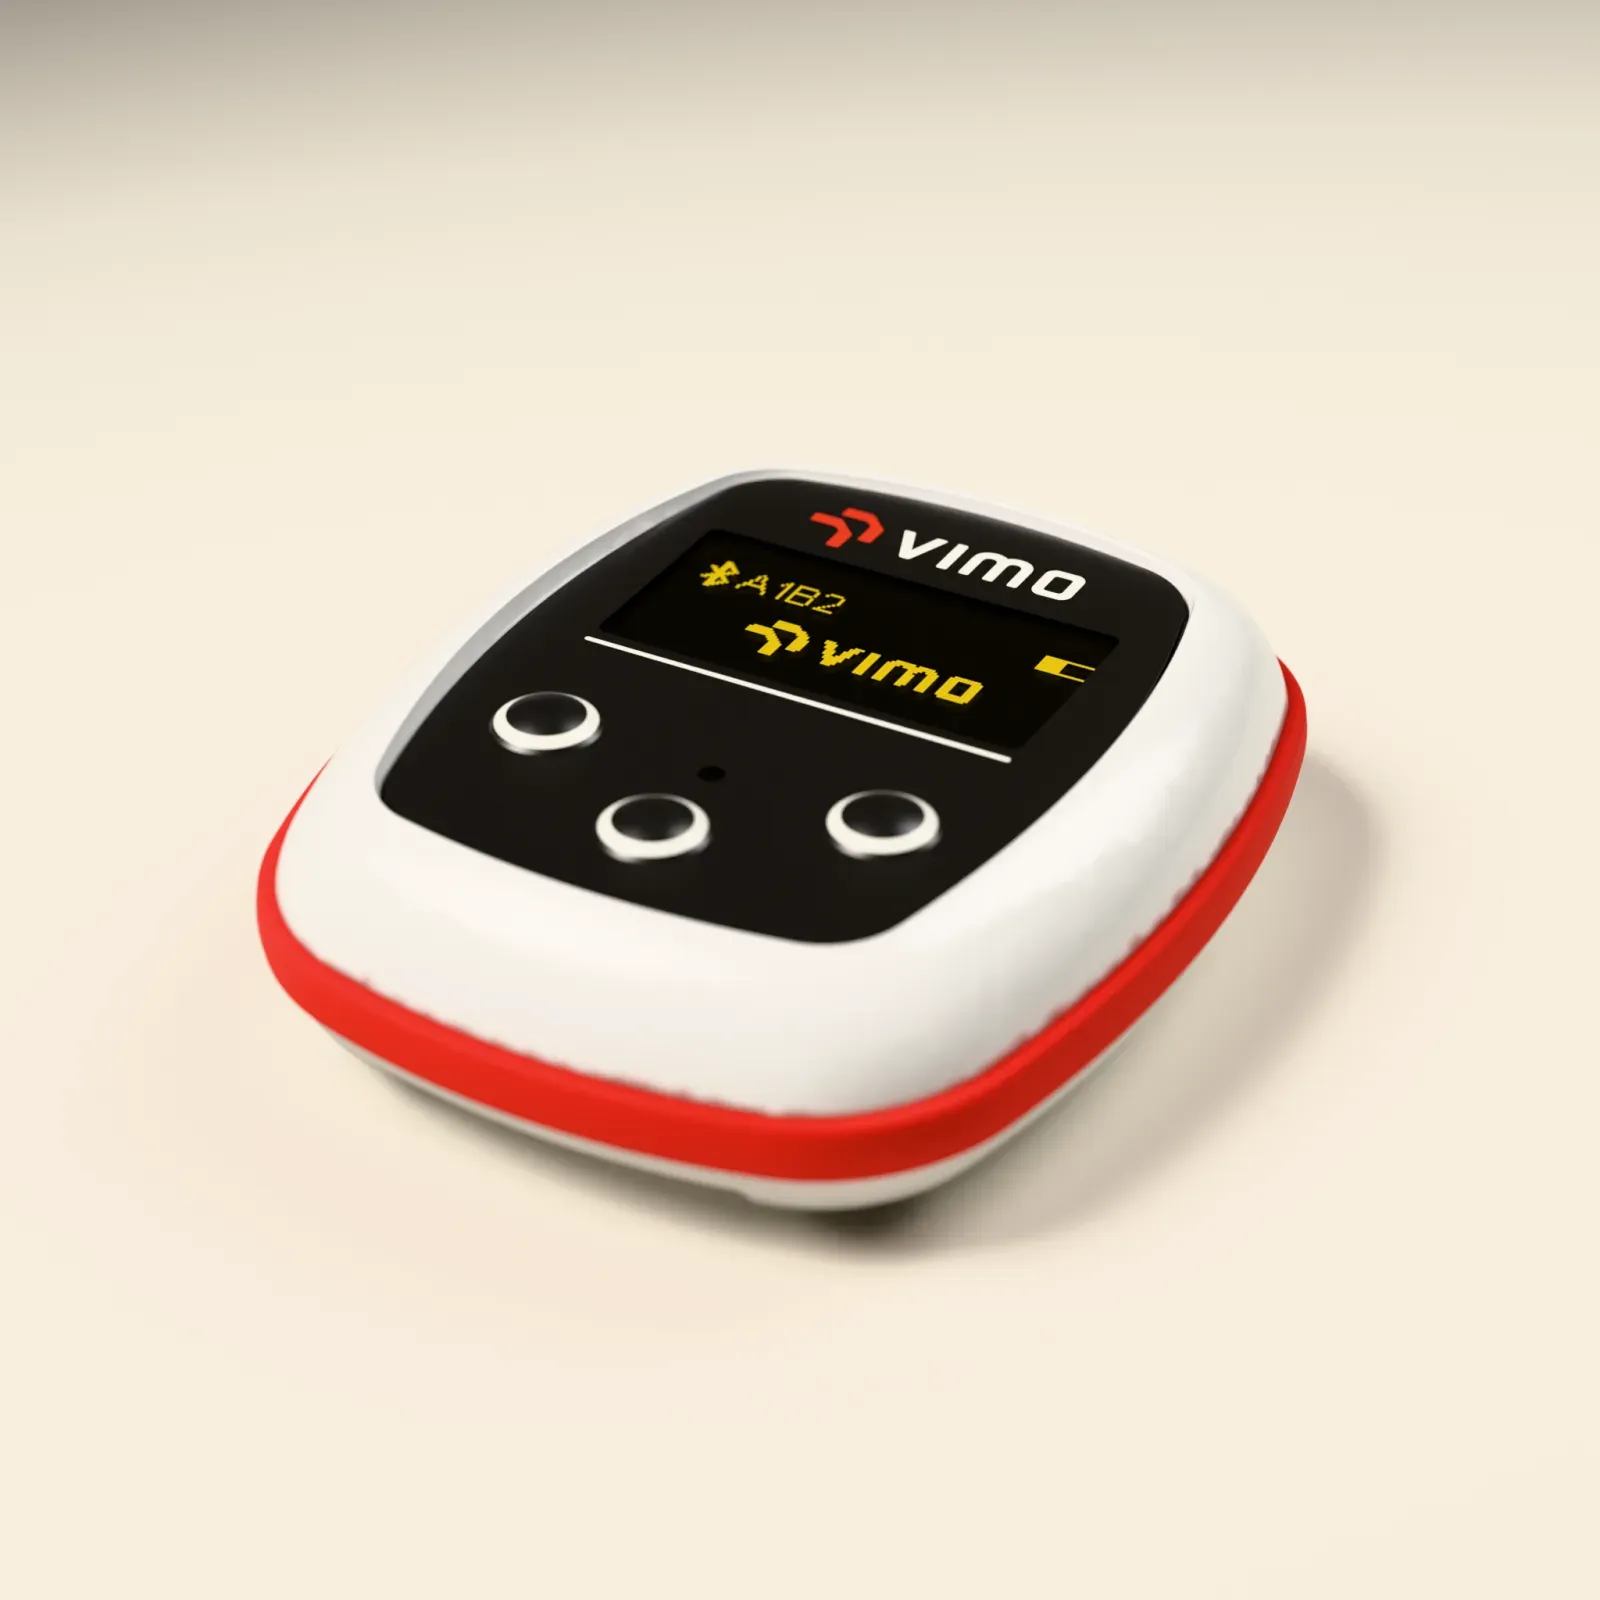
It is not my first time with headless Blender. Earlier I used the same approach for the Vimo Swim device model, and the result still surprises me:

Related notes

A quick introduction to profit sharing implementation
My company does not offer any employee benefits. Learn how we implemented a simple profit sharing system and whether it's worth considering for your organization.
SignNow MCP Server: E-Signatures Straight from Claude Code
I open-sourced an MCP server that brings SignNow e-signatures into Claude Code. Upload documents, send signing invites, track status, and download signed PDFs — all without leaving your terminal.